Toolbox Boombox

While I was home for winter vacation, I quickly grew bored without access to my electronic tools and projects. To entertain myself, I took some speakers, and amplifier, and an empty tool case and combined them all into a boombox.
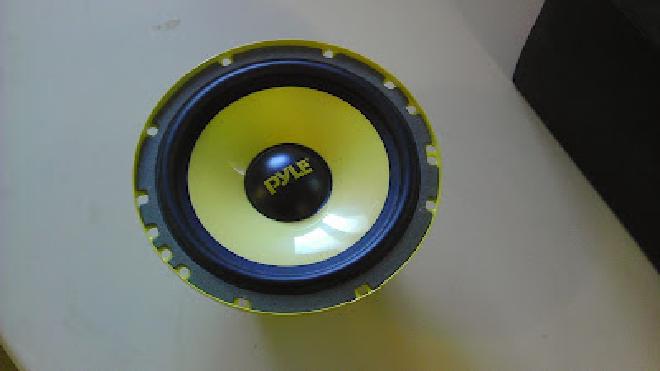
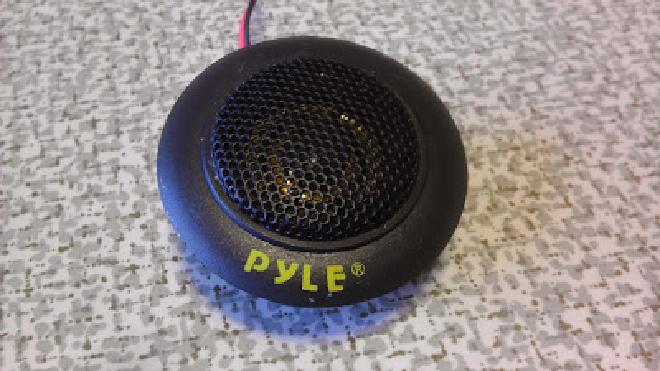
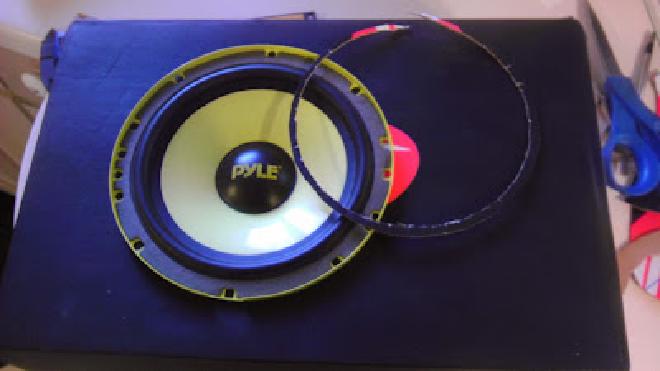
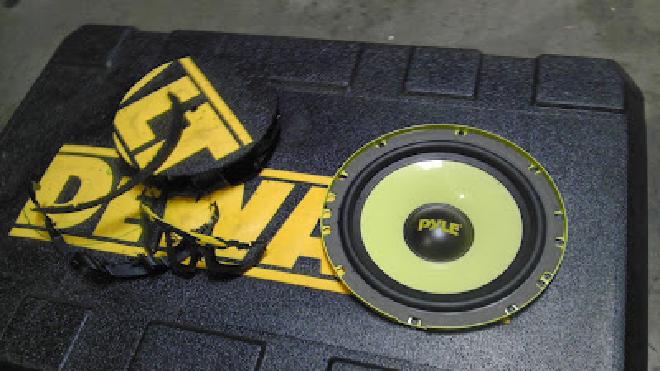
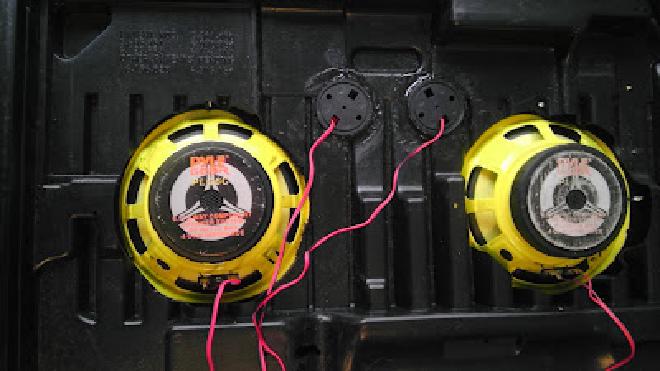
I’ve had this set of Pyle speakers lying around since I had a car. It’s two woofers, two tweeters, and two filters. The whole set cost something like $30.
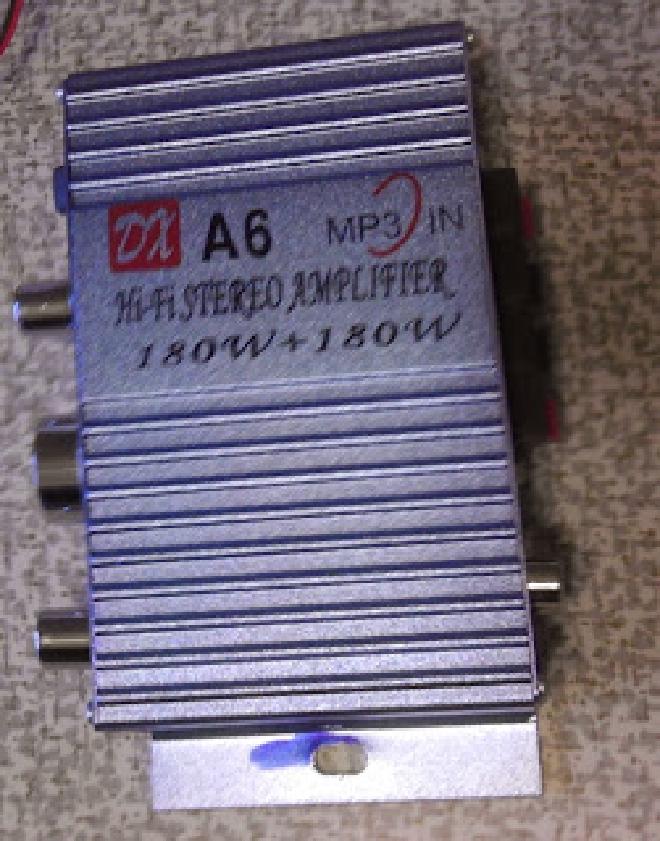
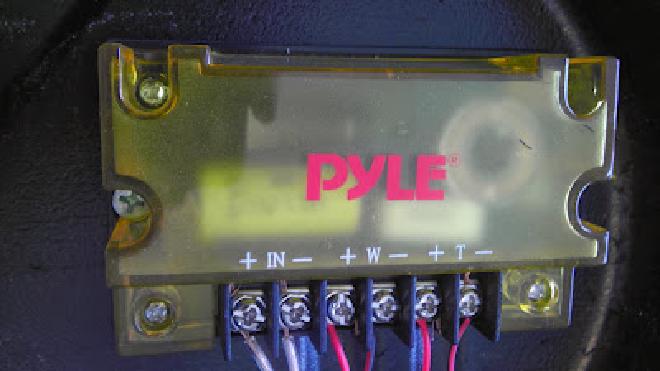
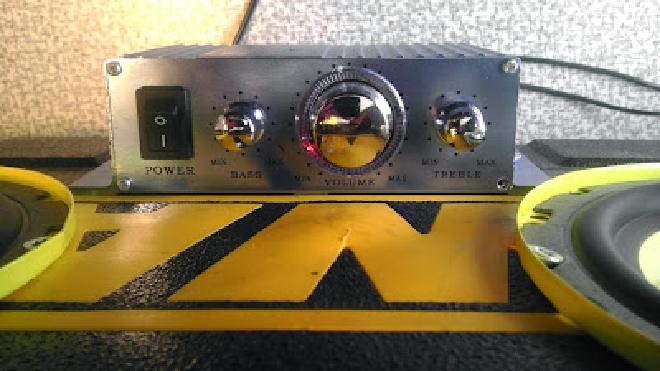
The amplifier is an ebay special “Hi-Fi Stereo Amplifier” This also came from my car. it’s got volume, bass, and treble adjustment, along with two inputs. These cost about $10, and no one will bother to steal this from your unlocked car. They come with some kind of annoying color-changing LED in the front, but I changed it to an amber LED the first day I had it.
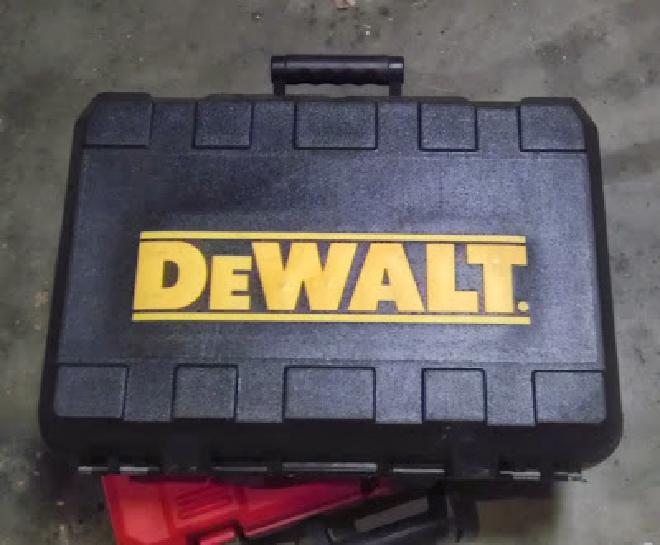
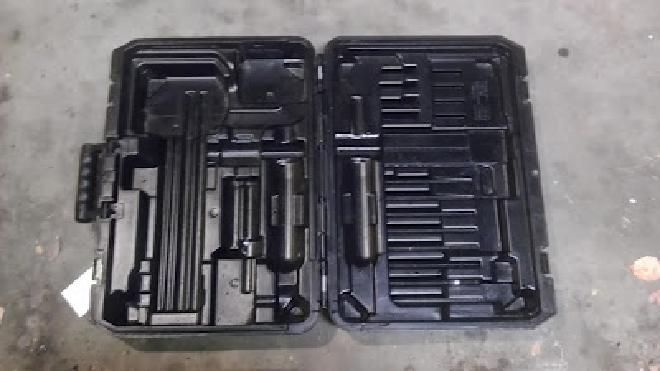
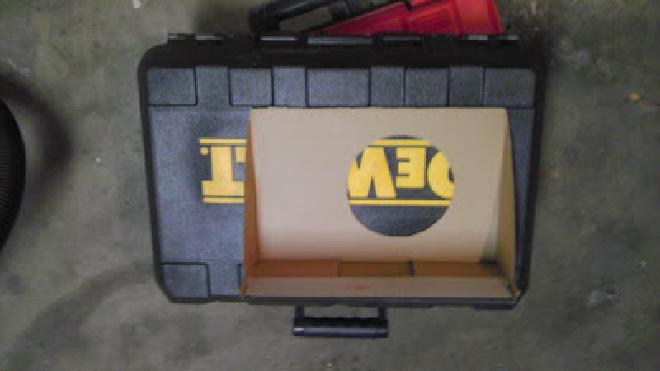
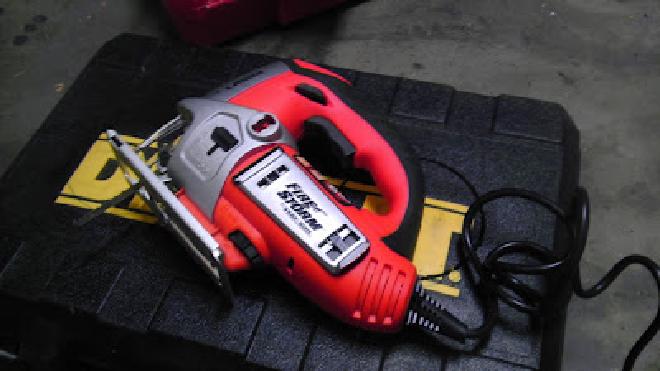
I picked up the Dewalt tool case at a thrift store a few years ago. It probably used to hold a scroll saw, but I never found a use for it.
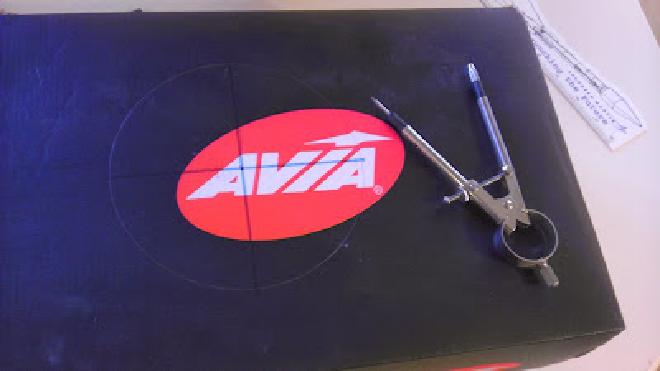
First, I made a cardboard template for the speaker using an old shoebox. I probably could have downloaded a template online, but this was simple enough.
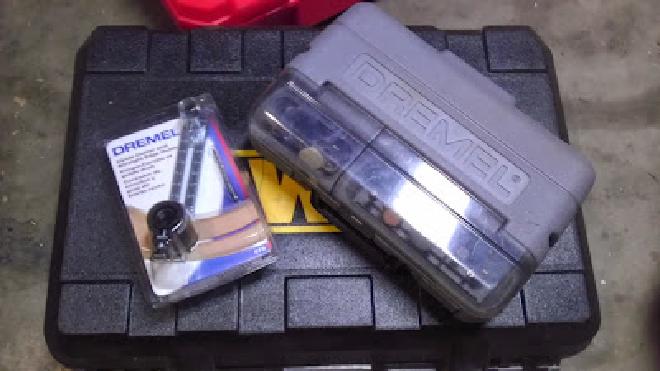
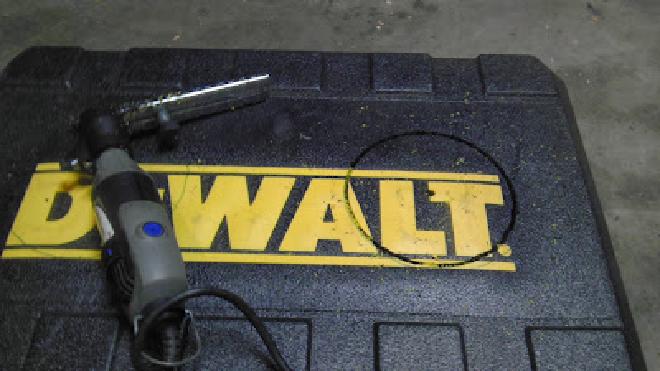
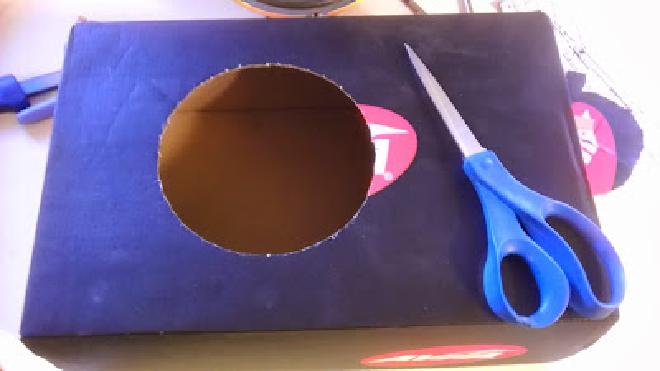
To cut the holes I used a Dremel and a hole cutting tool. It’s a neat design that lets you cut perfect circles.
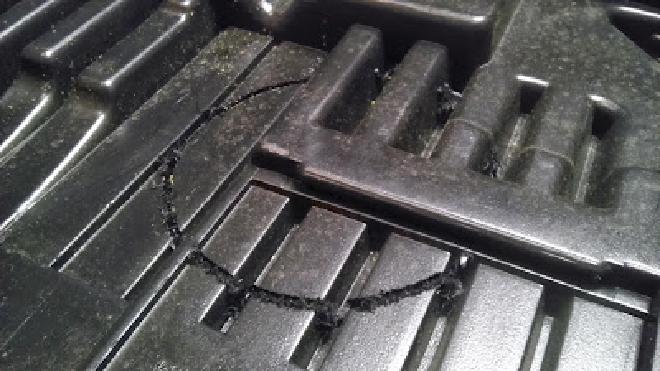
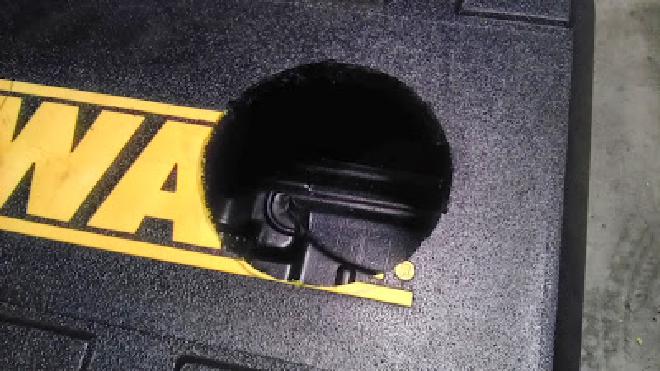
However, the cutting bit on the Dremel was not long enough to go all the way though the toolbox, so I finished off with a jigsaw.
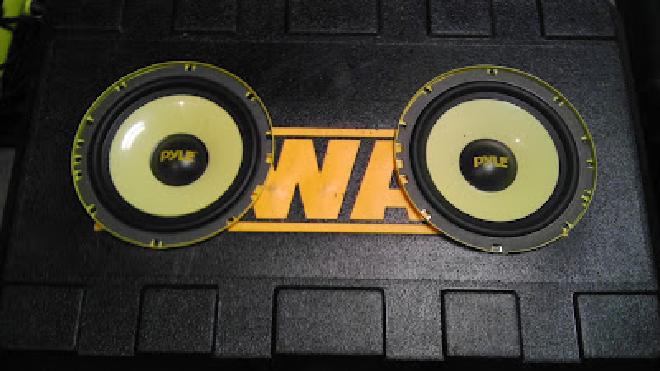
Then I did the same for the other speaker.
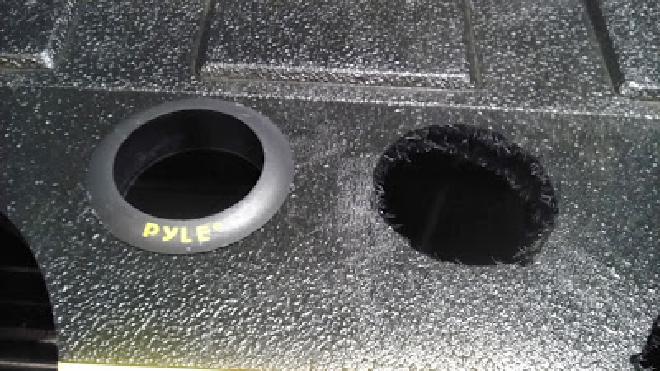
I decided the two tweeters would go in the center above the woofers, because why not.
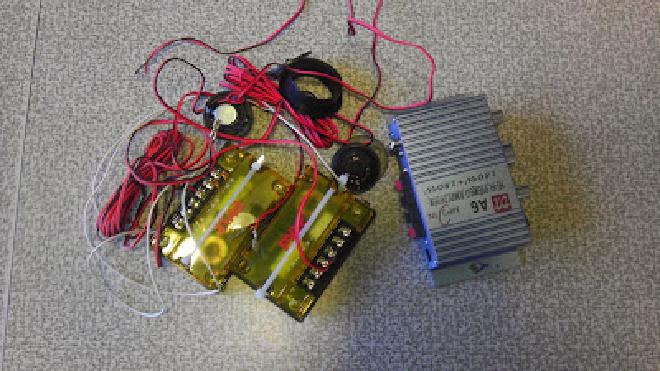
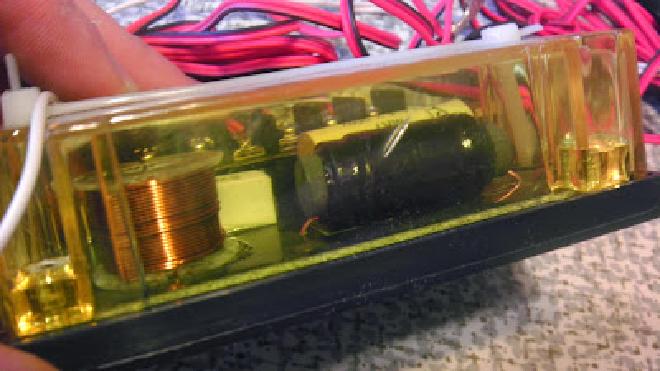
The two filters are just some passive components, I installed them because I didn’t have anything better to do with them. They still have zip ties on them from the last place they were mounted.
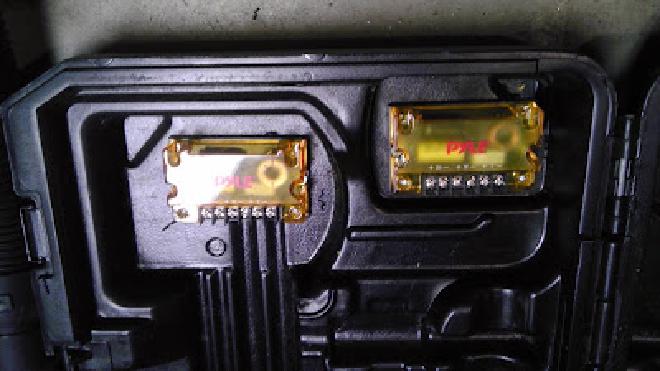
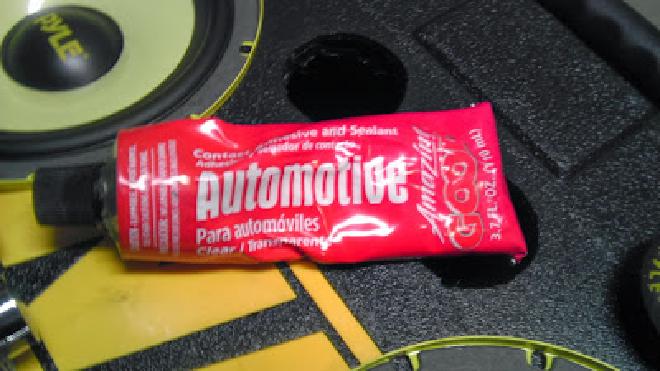

To hold the tweeters in, I kept the car theme running and used some automotive goop. To hold everything else in, I used some short wood screws.
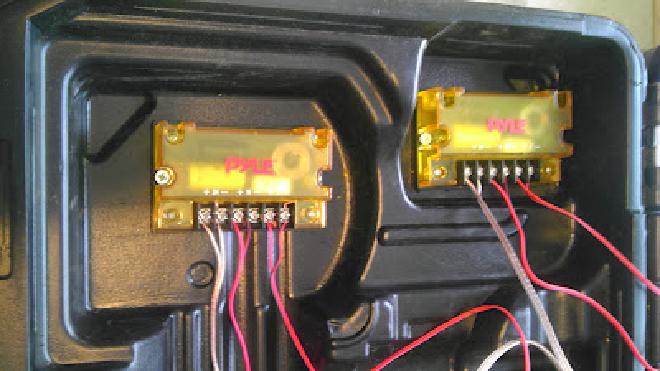
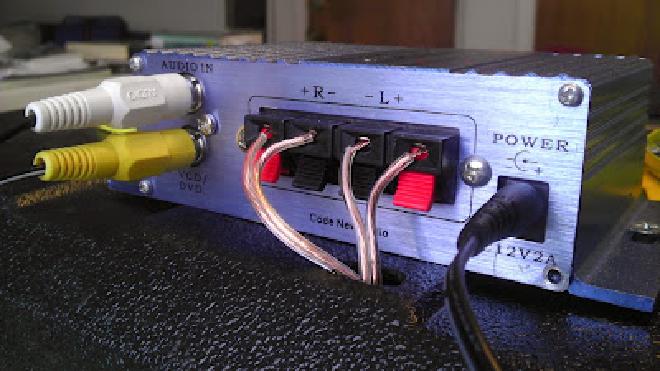
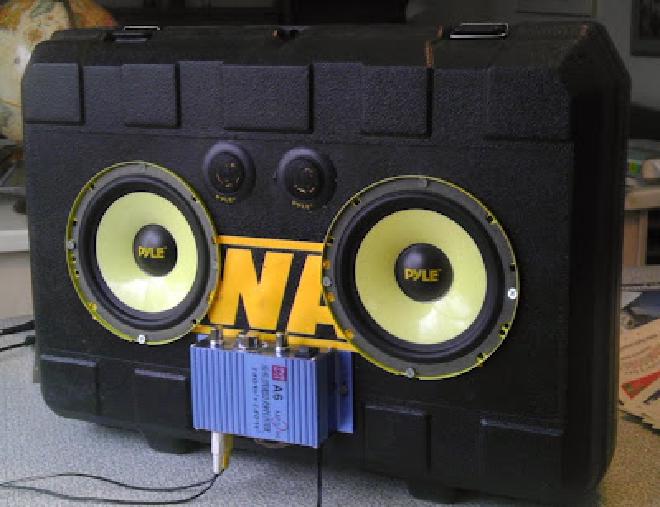
I put the amplifier on the outside so that the volume can be adjusted while the case is closed. I drilled a hole in the case to allow the speaker wires to go through. It is powered with a 12v wall power supply, but a battery could be installed if I had one.
Now the only question is what to do with it.