Pervasive Displays EPD Extension Kit Gen 2 Review
My previous post about my epaper business card attracted a lot of attention, most of it good. After publishing that project I was contacted by Pervasive Displays, who offered to send me an epaper demo kit in exchange for me writing something about it.
This isn’t really a proper review, more of a look at the screens and their software. For a better review, check out this one by Rei Vilo.
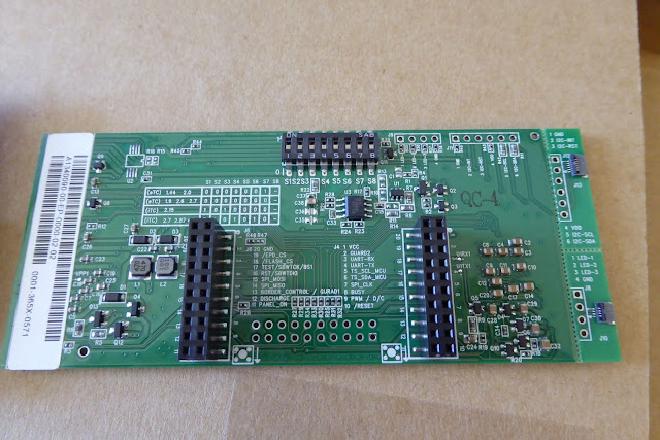
What they sent me was their EPD Extension Kit Gen 2 ($25), along with a TI EK-TM4C123GXL Launchpad ($13.49) and a nice selection of screens.
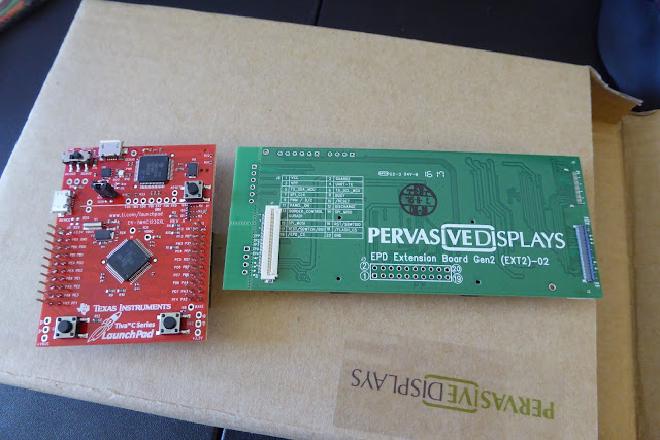
The EPD Extension Kit Gen 2 is better than the Gen 1 extension kit because it supports both types of screens that Pervasive Displays has: Internal Timing Control (iTC) and External Timing Control (eTC). It works with all of their current displays from 1.44" to 4.2". That includes the color displays!
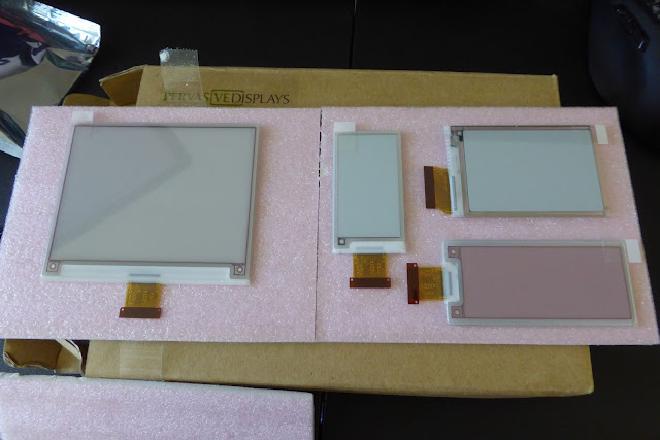
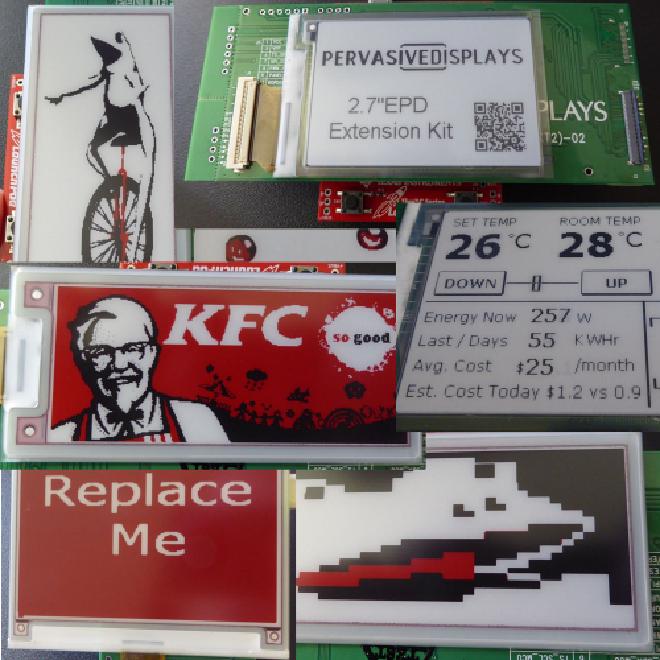
I received four screens:
- 2.15" iTC ($15.50)
- 2.71" eTC ($25.00)
- 2.87" iTC Color ($29.03)
- 4.2" iTC Color ($48.75)
Prices are the current from Digi-Key, and might be different by the time you read this. Of course, you don’t need to buy everything I have just to mess around with epaper, and they have a wide variety of kits on their site.
One of the best parts about this kit is the software they wrote to go along with it. Under the “Utility” tab of their EPD Extension Kit Gen 2 website you can download the “PDI Apps” tool. Unfortunately they require you to fill out a registration form to get an email with the download link, but it’s worth it.
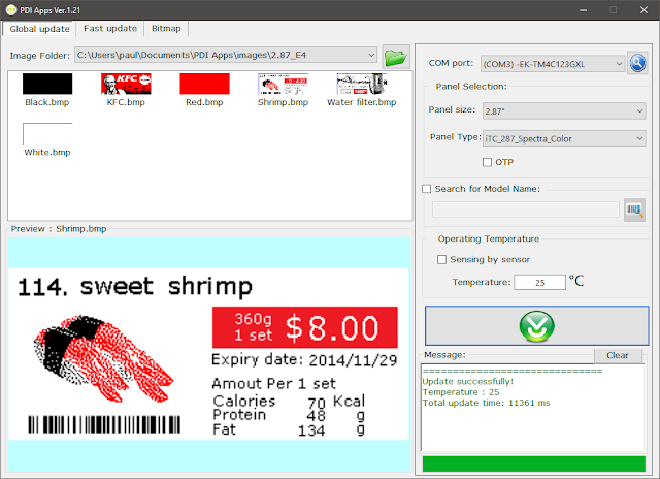
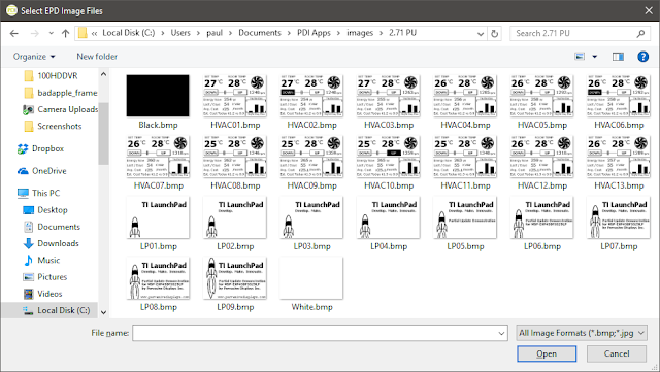
Using their software makes messing around with the screens a lot easier than what I was doing before. With my epaper card I had to take every file, crop it, change the file type, change the file names in the source code, and reupload to the microcontroller. This made testing different images a pain. Using the PDI Apps software, you can just browse to any folder click an image to display it right away.
To go along with the PDI Apps software, the user’s guide (under “Supported Platform”) is really nicely written and easy to understand.
The user’s guide covers way more than I’m covering in this “review”, so make sure to give it a look if you’re thinking about picking up this kit.
Importantly, the user’s guide contains this dip switch setting table:
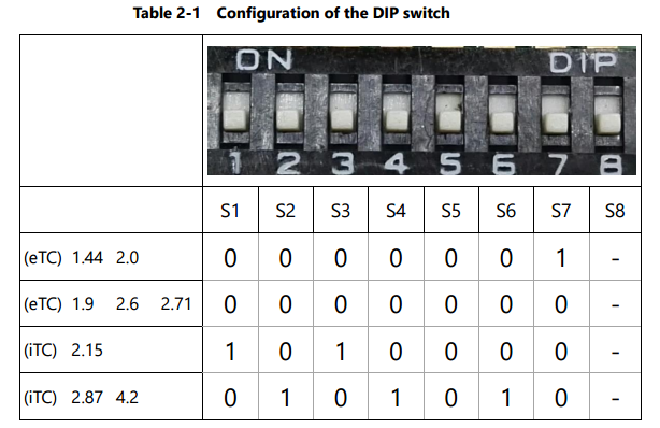
When changing display types, it’s important to set the dip switches on the bottom on the board to match the correct display. This is a bit unfortunate as you have to remove the board from the launchpad to change the dip switch, but it’s not really that big of a deal.
Once you’ve got the software installed, the dip switch set correctly, and the screen attached, it’s ready to go.
2.15" Monochrome iTC #
I started by looking at the 2.15" screen. It’s the smallest and the cheapest of the screens I got. Pervasive Displays does make smaller, cheaper screens (2", 1.9", and 1.44").
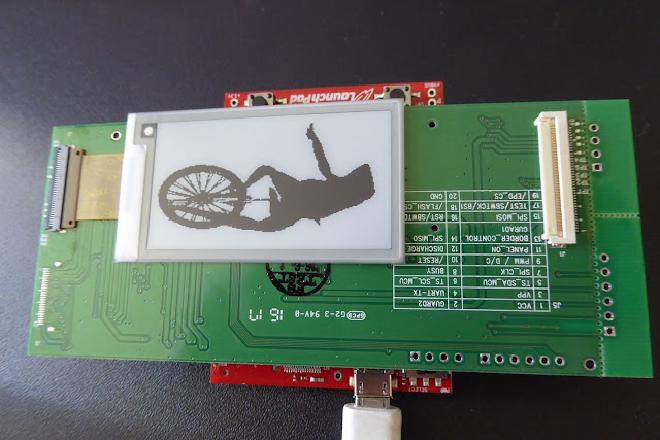
The screen is almost the same as the 2" one I used for my business card, but with internal timing control and a bit larger. It’s actually fun to use the PDI Apps software to go through random images and see how they look on a small epaper screen, something that would have been a chore the old way.
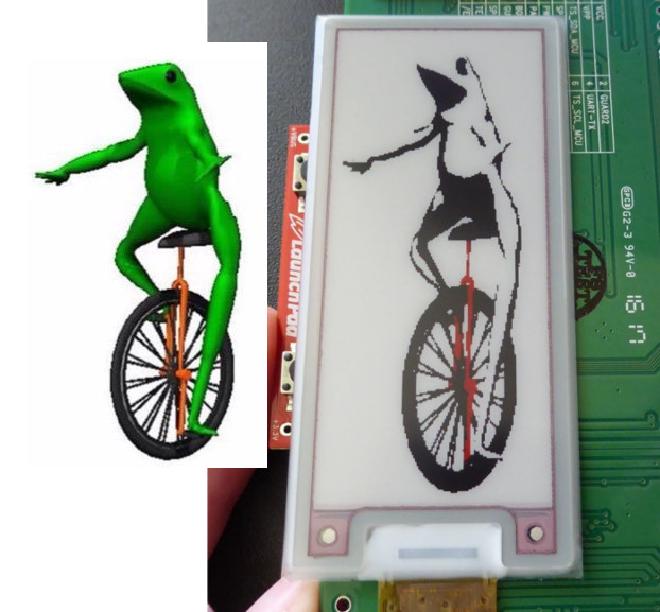
2.71" Monochrome eTC & Partial Updates #
The 2.71" screen is much the same. It’s larger but still monochrome. I can use it to show off a really cool feature: partial updates. Normally if you want to change an image on an eink display it has to refresh the entire screen with a blinking effect. This makes the frame rate very slow, and limits the applications you can do with it.
Pervasive Displays has a partial update technology that enables much faster display updates.
This really opens up the possible applications for epaper. I’ve already got a few projects in mind for this.
The PDI Apps software comes with two partial update demos for the 2.71" display. The partial update screen is called “Fast update”.
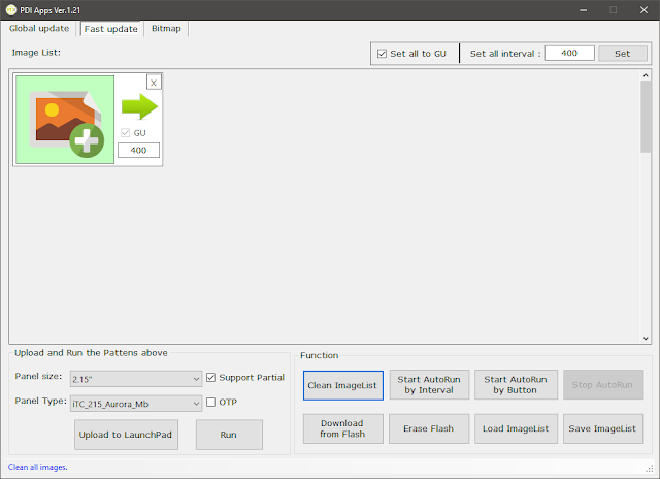
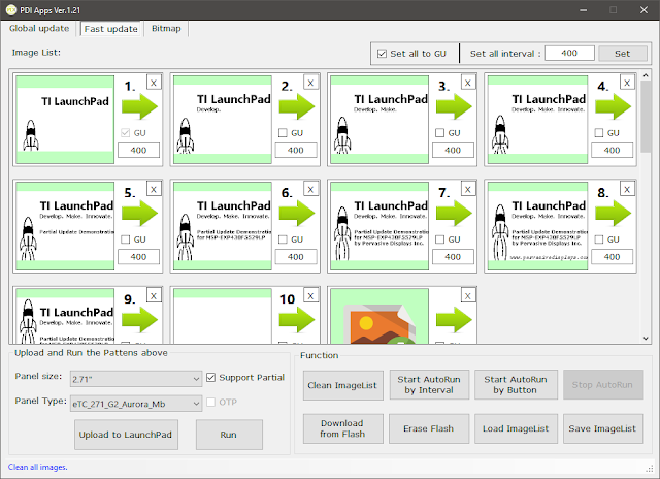
One demo is a thermostat, and the other is a rocket launching with some text. The time between images can be set in milliseconds, with a default of 400ms (2.5 frames per second) for each image. This can be increased (or decreased) but the results aren’t that great. I made a short video to show the difference between the rocket animation at 400ms (2.5 fps) and 100ms (10 fps).
As you can see, the display looks pretty incredible at 400ms! At 100ms there is noticeable ghosting and the text is harder to read. At something like 33ms (30 fps) it just becomes a blur. You’re not going to get 30fps video out of this screen, and that’s to be expected. Even at 400ms it really opens up a lot of new ideas for me about epaper display projects.
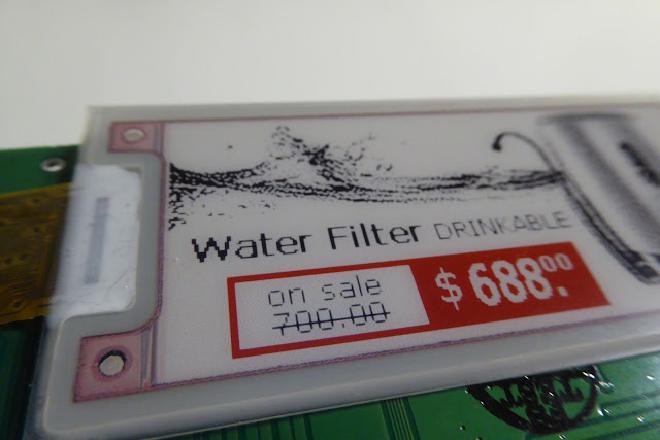
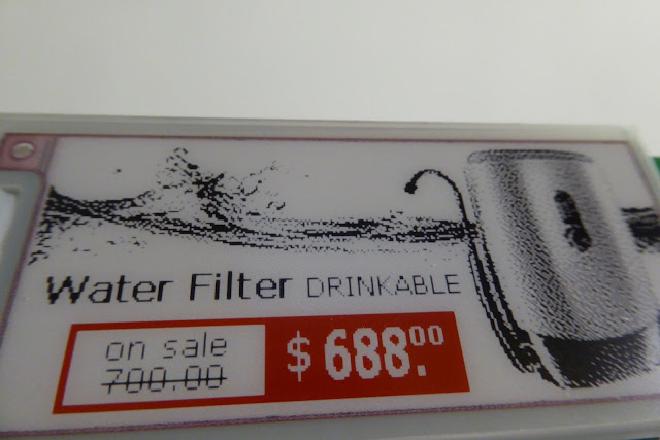
2.87" Spectra iTC #
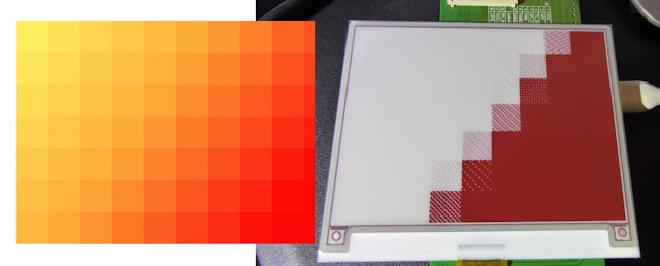
Partial update is impressive, but what’s even cooler is the three color screens. These display black, white, and red. After looking at two-color epaper displays for so long, it’s weird to see one with a nice red on it.
This is where the PDI Apps software gets really fun. You can load up any full-color image and see it displayed on the epaper display a few seconds later.
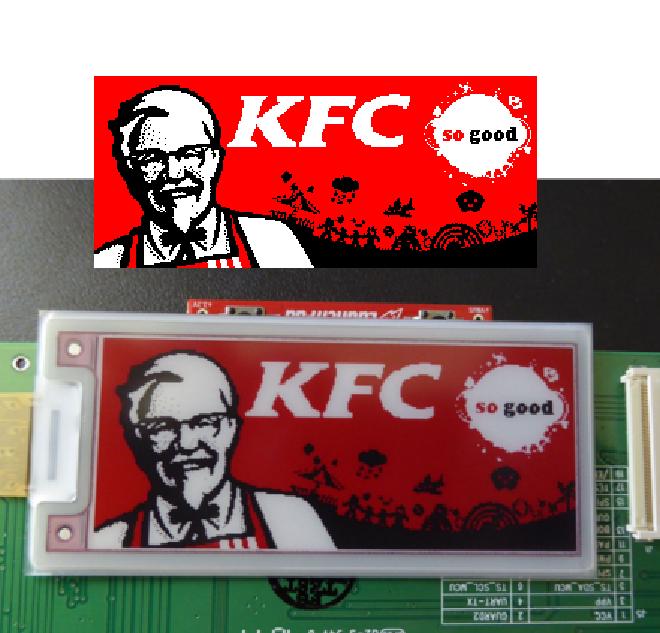
Pervasive Displays provides a few demo images, like the KFC logo.
Even though it’s only one color, seeing it on an epaper display is really nice. If you are only doing a project using the monochrome display, I would still suggest picking up a color one just to mess around with. I’m even considering making an even more impractical color version of my business card, just because of how cool it looks.
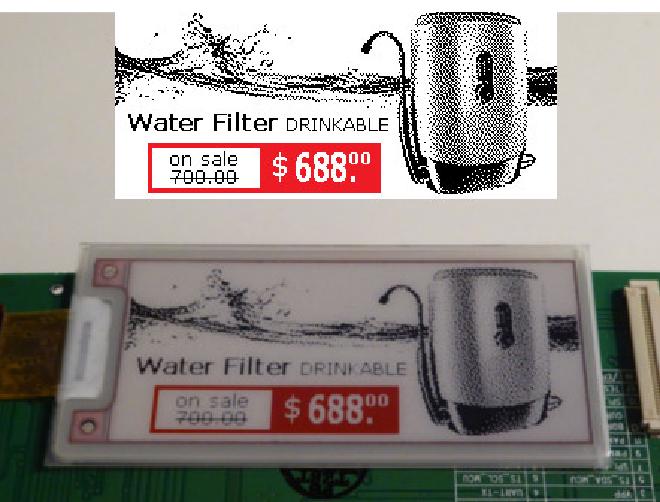
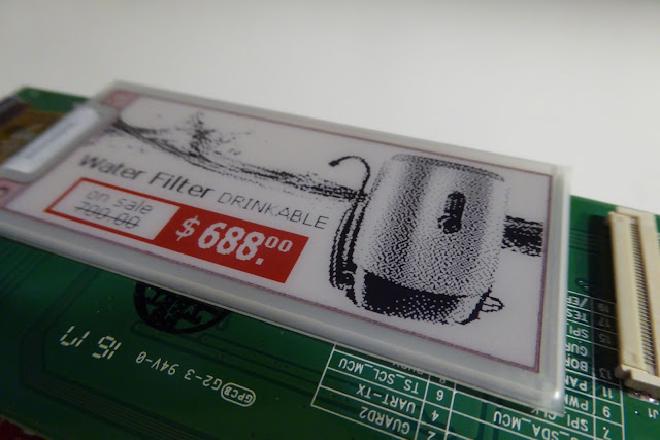
4.2" Spectra iTC #
The color 4.2" display is the biggest and most expensive, but also the coolest. You could fit a ton of information on this one, and it looks just as great.

Playing around with the software and loading on random images is a blast.
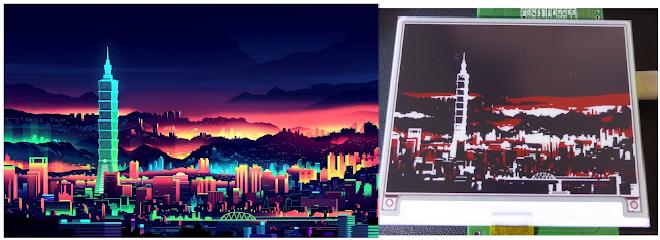
The best uses for a display like this are probably monochrome images with some kind of red highlight, but it’s always interesting to load up some random pictures and see what happens.
Summary #
If you’re prototyping anything involving epaper, this board is a great starting point. Even if you’re not using the same microcontroller, the ability to load an image directly on to the screen and instantly see what it looks like is incredibly helpful. At $25 + $13.49 for the Extension Kit board and a Launchpad, it’s a cheap prototyping solution. If you’re picking one up, you might as well order one of the Spectra screens just to mess around with.
Pros: #
- Enables very fast epaper testing
- User’s guide is comprehensive and understandable
- PDI Apps software works well
- The screens look great
- Reasonably priced
Cons: #
- Registration required to get the software
- DIP switches on the back of the board
- Software only runs on windows