Using a Minolta RD-175 in 2023
Recently I’ve gotten into collecting old digital cameras. It’s an interesting hobby, because most of these cameras went from being state-of-the-art and expensive to outdated and useless in a few years.
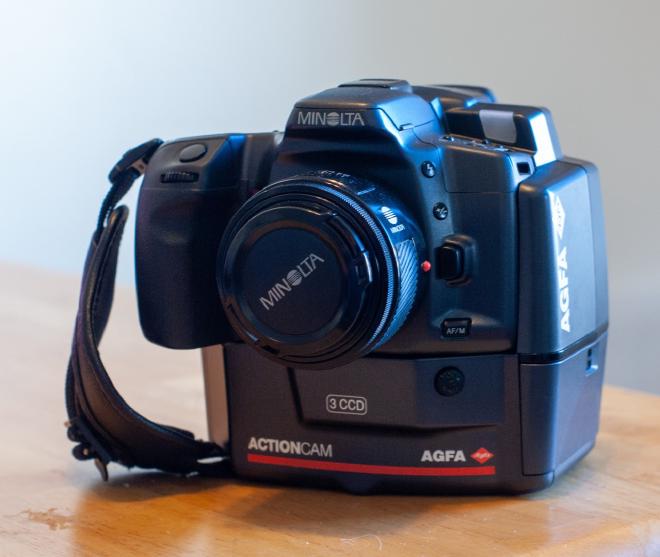
My most recent example of this is the Minolta RD-175 (aka Agfa ActionCam). This early digital SLR came out in 1995 and cost $10,000. In 2022 I was able to buy an almost-unused one for around $50.
This camera came out before USB, so the only connector is SCSI, and the only memory card is a PCMCIA hard drive. This makes it a bit difficult to get pictures off of the camera.
To make things even more difficult, the camera won’t work with anything except specially-formatted PCMCIA cards, and the only way to format the cards is using the SCSI cable.
There is a way around this: take a disk image of the card and write it to any PCMCIA card, and it will work.
Reference:
http://thecameracollectors.blogspot.com/2011/05/how-to-clone-minolta-rd-175-cards.html
https://www.nikonweb.com/actioncam/
The problem is, all of the links in those blogs are dead. Luckily I had a friend (thanks Zeek!) who was working on the same problem. With his help, I was able to get a working SCSI cable and make my own disk image.
Card Formatting Guide #
Here’s a quick guide on getting the RD-175 working:
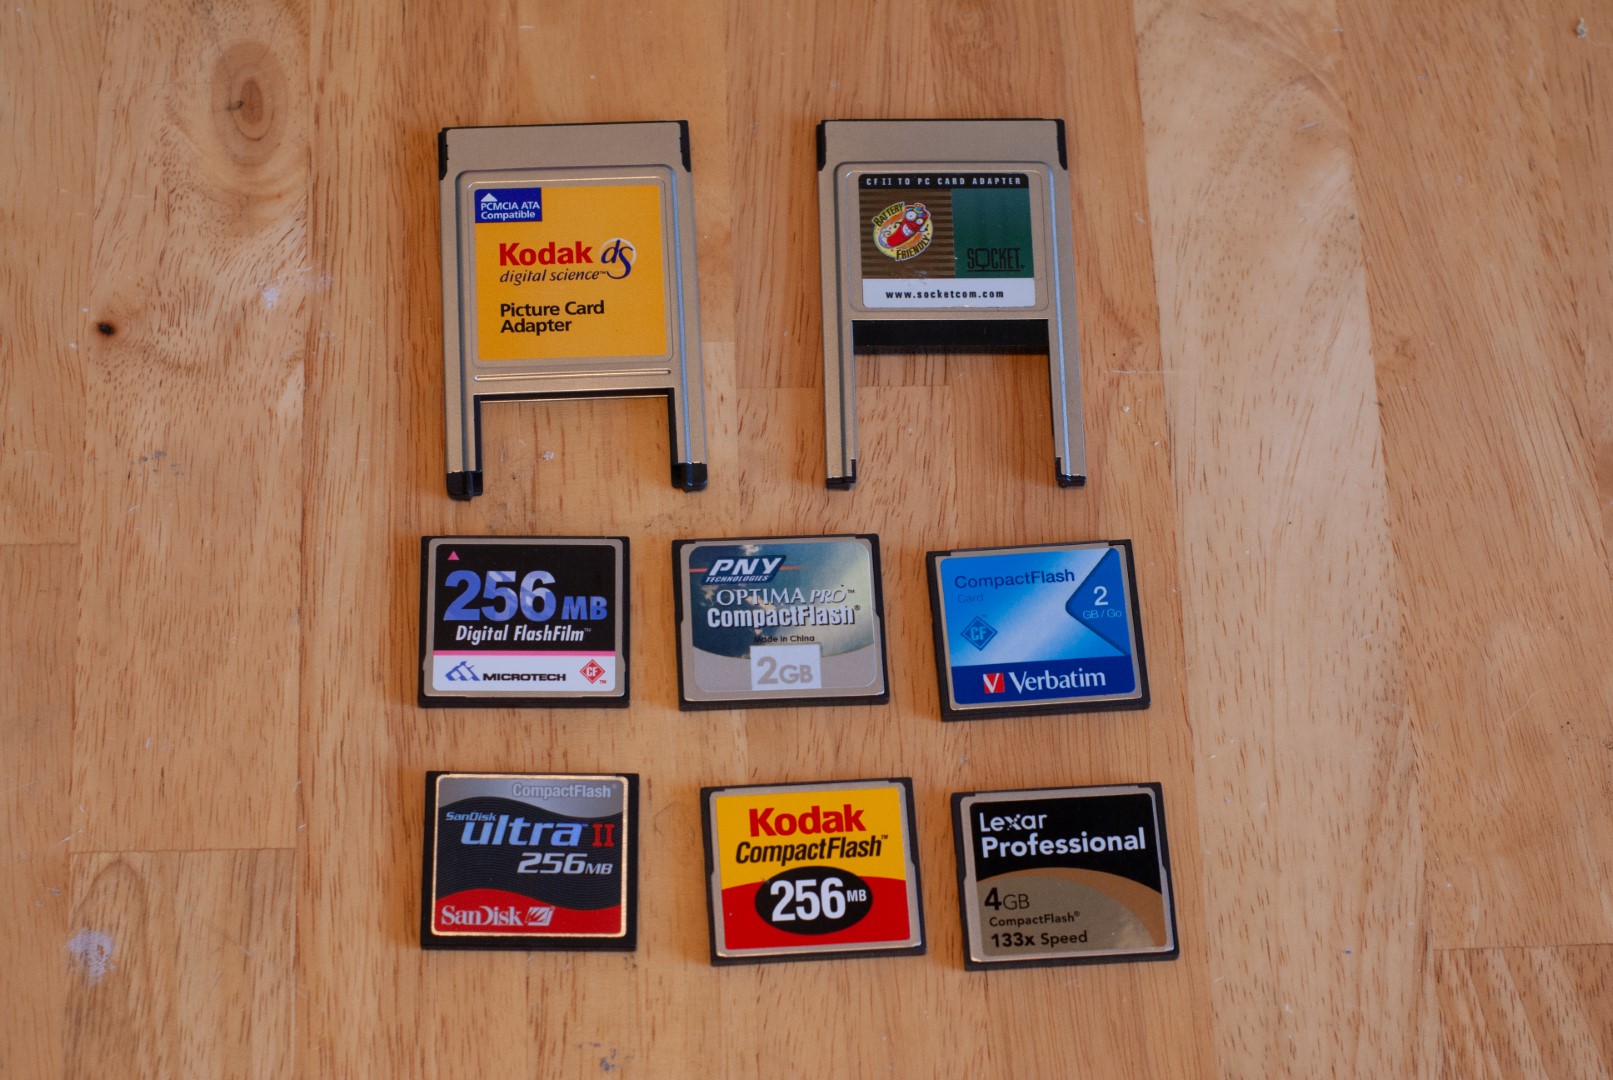
Things you need: Compact Flash (CF) card 256MB or greater, and a CF to PCMCIA adapter, as well as a card reader.
-
Download the disk image I made:
Archive.org mirror https://archive.org/details/rd175_256
-
Write the disk image to your CF card
-
On Linux, use DD:
(Where sdX is the card being written)
sudo dd if=rd175_256.img of=/dev/sdX
-
On Windows, you can use balenaEtcher, win32diskimager, or Rufus. Write the image to the card using one of those utilities.
-
-
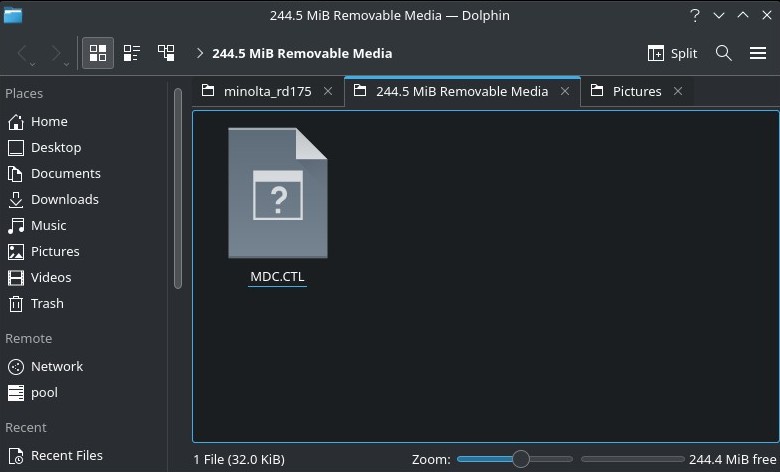
After being formatted, the card should contain a single “MDC.CTL” file and nothing else. This file is required for the RD-175 to recognize the camera. The file may be hidden depending on your operating system settings.
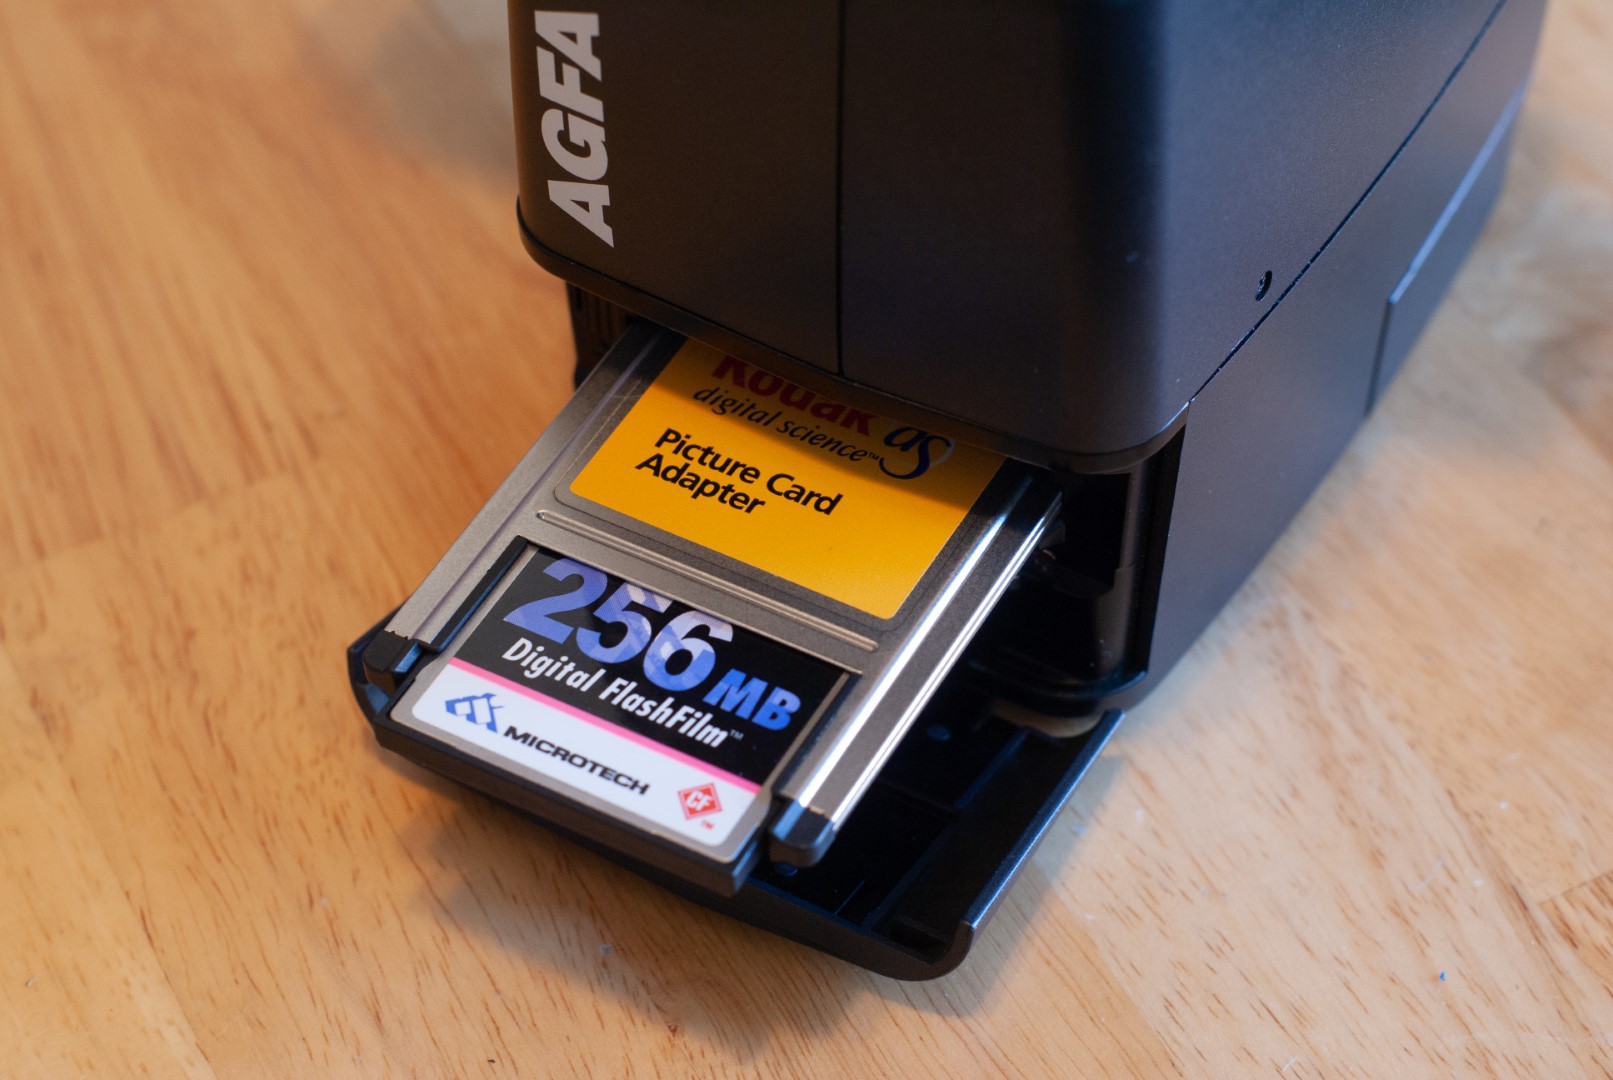
- Use the CF to PCMCIA adapter to insert the formatted CF card into your RD-175.
- Turn on the RD-175. If all was successful, you should see “199” in the image counter.
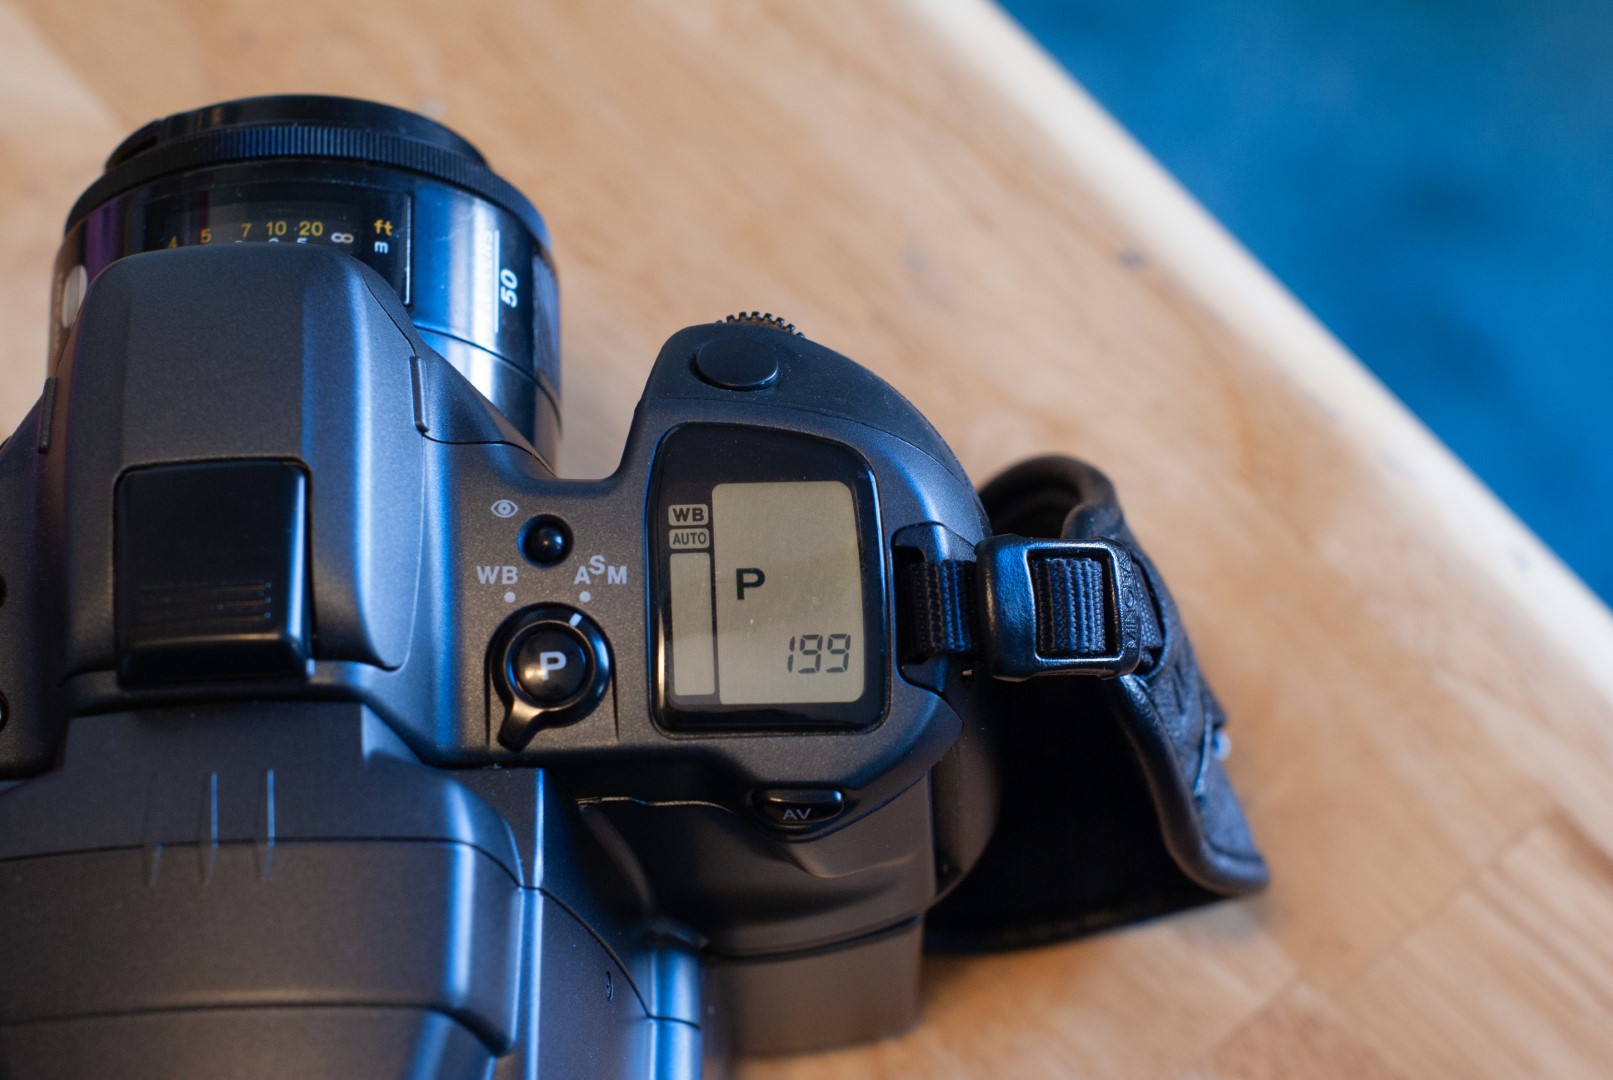
Image Conversion Guide #
The RD-175 saves images in the “.mdc” format. Luckily, the Minolta software that converts these files is still hosted on their website, and still works on Windows 10! It also works fine in WINE.
-
Download the software RD17520E.EXE
Minolta mirror https://www.konicaminoltasupport.com/index.php?id=3990&L=894
Archive.org mirror https://archive.org/details/rd-17520-e
-
Install the software on Windows or in WINE.
-
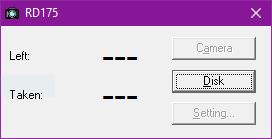
Start the RD-175 software. If all went well, you should get this:
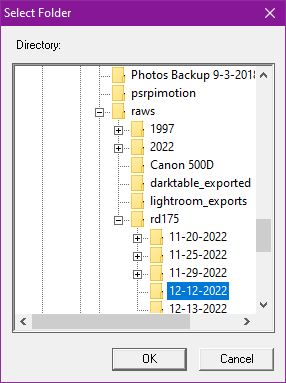
- From here, select your CF card or other folder where you saved the .mdc files.
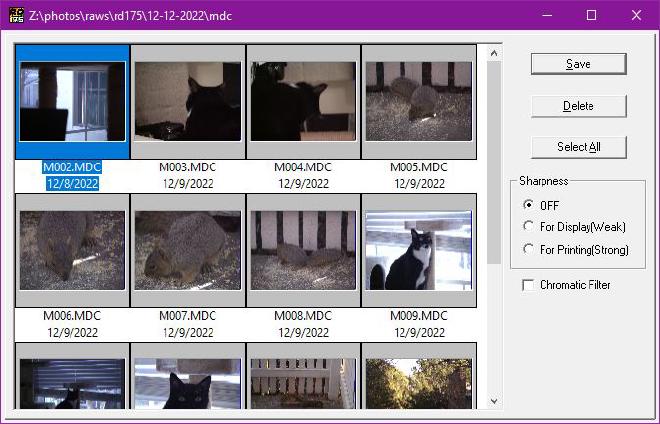
- You should see thumbnails of your images at this point.
-
You can select individual images to convert, or just press “select all” to grab all of them.
There are some other options here:
-
“Sharpness” will apply a sharpening filter to the images prior to exporting.
-
“Chromatic Filter” will apply an anti-chromatic aberration filter to the images.
-
-
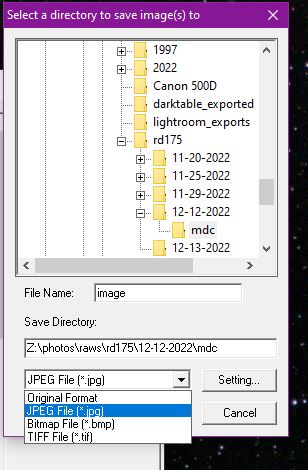
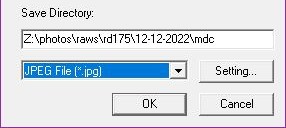
After selecting the images, press “save”. You’ll get the dialog to select where to save the exported images.
-
You can select format here.
-
If you select JPEG, you can press the “Setting” button to select the JPEG image quality.
-
I usually save as TIFF if I want to process the photo further, or JPEG if I just want to share it directly.
-
-
Press OK and the images will be saved!
- Note, some other software (example DarkTable or RawTherapee) may be able to import the .mdc files directly. Any software that uses dcraw should work.
Other Notes #
-
The maximum card size the RD-175 will format is 260MB, so the 256MB card image I made is close to the limit.
-
If you want to get SCSI working yourself, you’ll need a “Centronics Micro D 50 Male” cable, such as this one. I plan to write a full guide to getting SCSI working at some point. SCSI is required to set the date and time on the camera.
-
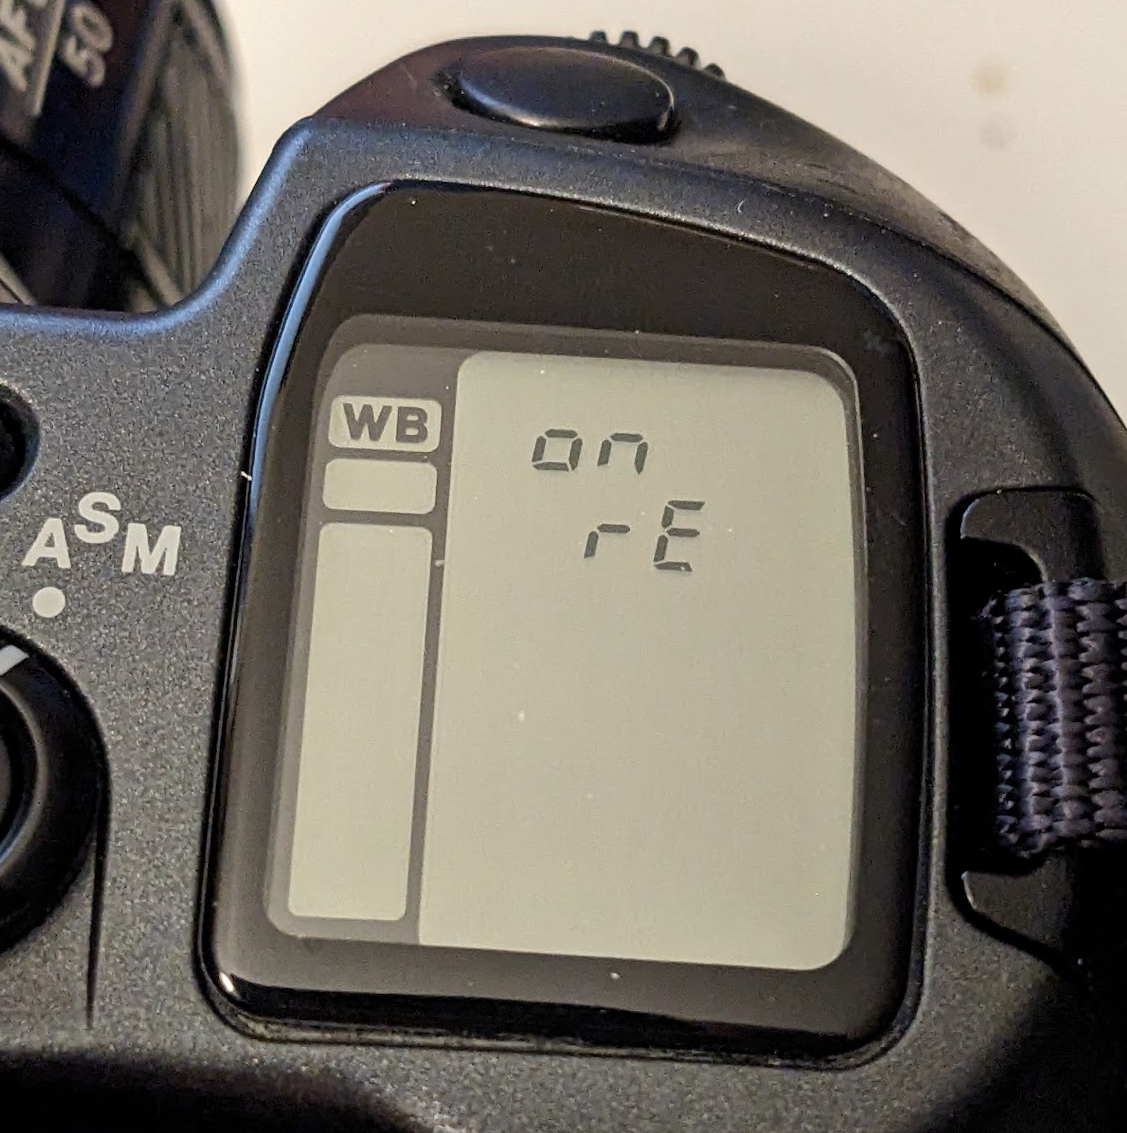
The RD-175 doesn’t have a bulb mode, and it won’t let you take pictures without the lens attached, so cleaning the sensor is a problem. Zeek found an undocumented mode that allows the camera to work without the lens:
- Hold the Self timer (on the top) and AV (on the back) buttons while powering the camera up.
- On the LCD display, you’ll see a dialog pop up with it saying “on” and “rE”. To reverse this, hold the buttons again while turning the camera on.
- Once you’ve turned on RE mode, you can set the shutter speed to the longest time (1/2 second), take the lens off, and fire the shutter while using an air blower to clean the sensor.
- You can also use RE mode to use the camera with a non-chipped Minolta lens.
-
There are more button combinations, but I haven’t been able to figure out what they do:
- To enable “BL” mode, hold the Flash and +/- buttons while turning the camera on.
- To enable “AL” mode, hold down Self Timer and Red Eye while turning the camera on.
References #
- RD-175 manual https://archive.org/details/rd-175-hw
- RD-175 software manual https://archive.org/details/manualzz-id-1126519
- Dyxum forum thread https://www.dyxum.com/DFORUM/all-about-minolta-rd175_topic103895_page1.html
- RD-175 160MB card image https://archive.org/details/rd175_202211
- Konica Minolta support page https://www.konicaminoltasupport.com/index.php?id=1083
This post is licensed under CC BY 4.0